


Printer Upgrade instructions.
First, remove the printer from the box.
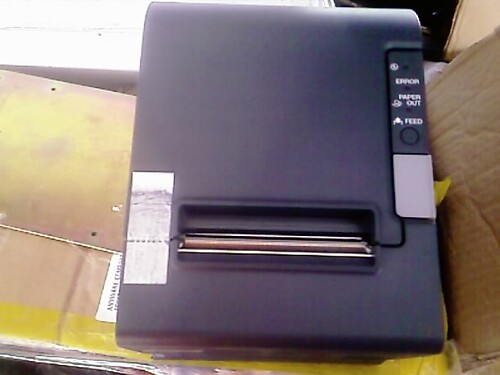
Using the tape that is supplied to hold the lid shut, stick down the 'paper out' sensor on the left, on the inside. Due to the angle the printer sits on, the paper out sensor isn't reliable when the paper gets below 30%.

Put the printer in place behind the front panel, and then mark and cut out where the new printer ejects paper. This is approximately 10mm left, 10mm higher, and 5mm lower.

File down the cut out area to remove sharp edges
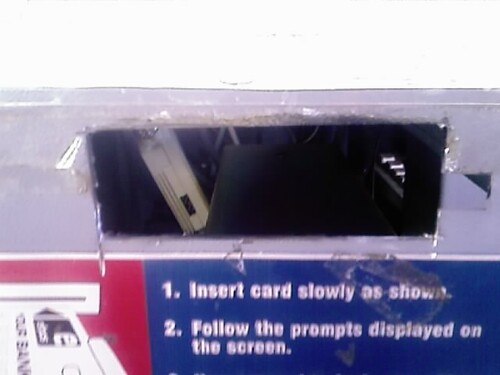
The entire output area of the printer should be exposed. If not, it is possible for paper at the end of the roll to curl too tightly and get stuck.

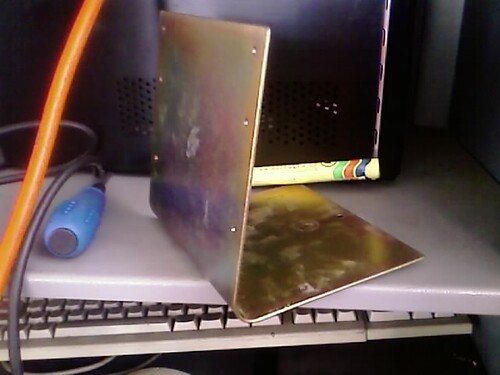
Remove the old printer from it's base
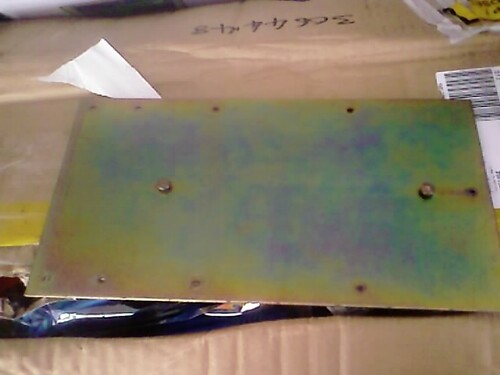
And cut off the mounting bolt FURTHEST from the hole

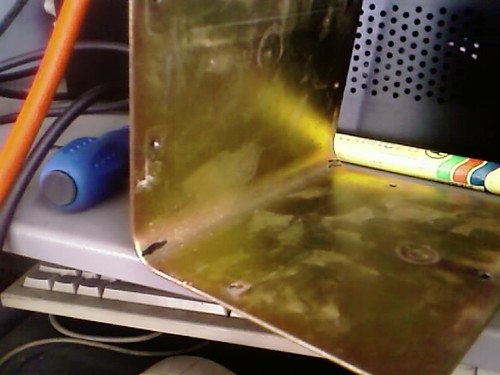
Place the old base back on the mount, and then place the new printer on top of the base. Mark, on the base, roughly 10mm behind the base. Sorry, due to the darkness inside the machine I was unable to get a photo of this.

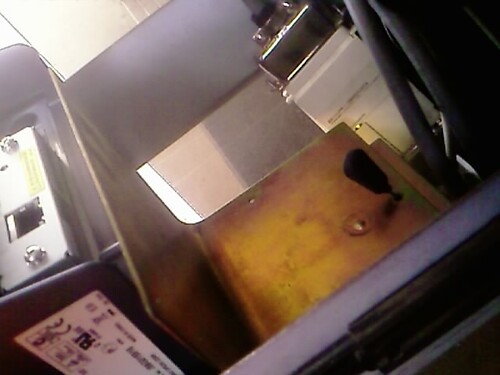
Bend the base to roughly 100degrees.
And install the printer.
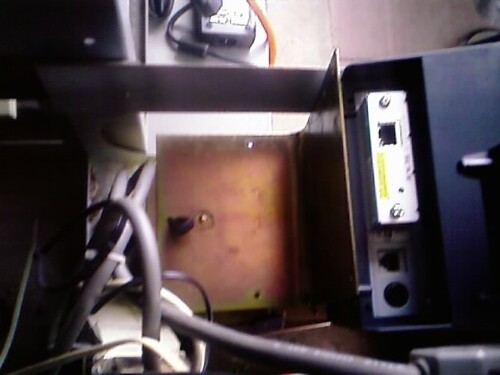
At this point you then connect the printer, using either Network or Parallel (note the printer shown here is a Network printer.) - If using Parallel, you need to remove the old 'big' cable that ran to the printer, and replace it with the new one supplied.
At this stage you need to install the new PrintCapture program, and drivers. Contact Rob for assistance.


